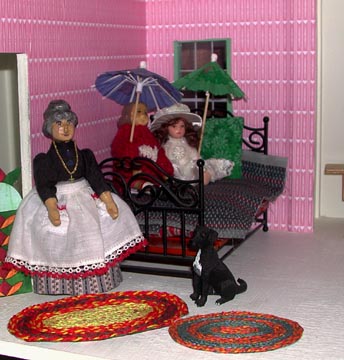
Mrs. Plum shows two of her braided rugs to the girls.
Mrs. Plum's Braided Rug Pattern
Mrs. Plum is a skilled rug braider. She learned as a child, from
her Grandmother.
Mrs. Plum shows two of her braided rugs to the girls.
Supplies needed:
For this rug we used Orange as the main color, Blue and Green as the other two colors. |
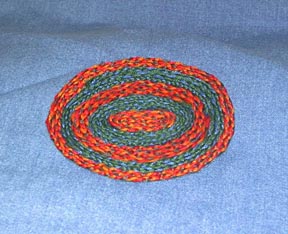 |
You can use these patterns or create your own.
|
Cutting Instructions: Cut:
|
|
1. Braid three lengths as follows: 2. Trace the oval or circle onto the wrong side of your backing fabric. Do not cut out yet. Coat this on the wrong side with glue. 3. Starting with the 1st braid, begin to lay it down carefully, starting at the outside of the shape. 4. Work it around as many rows as you like, making sure to end off where you started. Add the other two braids in any order you like. Keep working in towards the center. 5. When you get to the center, lay the braid as flat as possible to fill in the last spots. |
TIPS
|