|
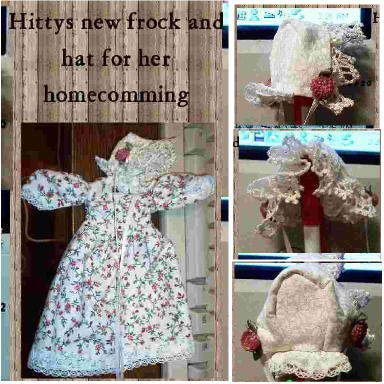
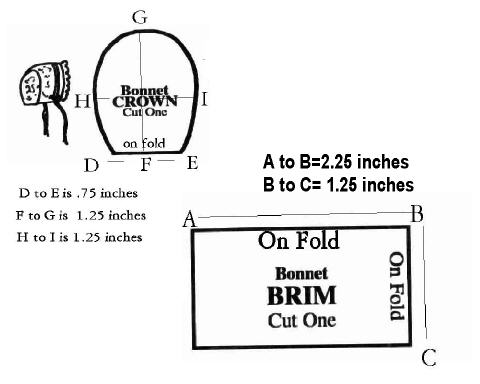
Instructions for Bonnet
Make sure bonnet pattern matches the measurements given. If not, you
can just draw them as they are simple shaped.
Cut on the folds, that way the inside is as pretty as the outside.
Take the bonnet back and match the brim (doubled so as the nice fabric
is on the outside and the inside...NOT right sides matching.)...and
find the center of the lengthwise fold (B on the pattern).
Match the center of this to the center top of the back and pin. Match
the outside ends to meet the bonnet corners (D and E on pattern) and
if it doesn't match exactly, make a small pleat or two to fit. Just
make sure both sides are pleated about the same.
Sew bonnet back to bonnet brim where it is pinned.
When done, you can add a little extra to add the back frill...this wasn't
on the pattern, but my own doing..I just matched the same from D to
E. and added small lace to here. I also found a small piece of lace
to put in the inside of bonnet for that "frill look"...didn't
measure it, but found an "odd" piece and used a running stitch
to gather it and then stitched to the inside layer only...this is another
nice reason for the doubled brim as your lace stitching can be hidden
by not going through both layers.
To finish off the bonnet, I just sewed 2 small ties to the bonnet and
hid my sewing with two small flowers that matches the dress it was made
for.
. If you have any questions, please feel free to email
me and I will try to explain more.
This pattern was a pattern that I used for my Ginny dolls, I just downsized
it a bit.
|